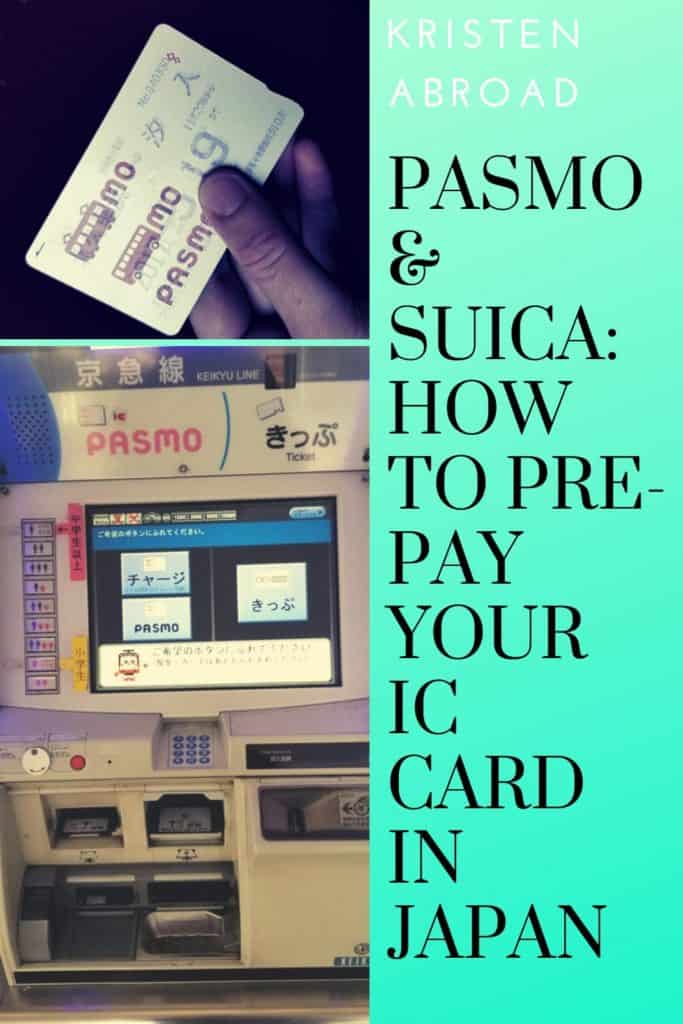
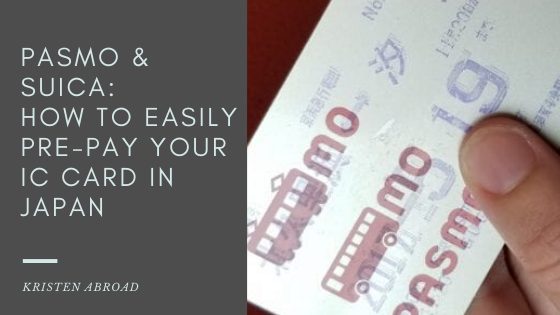
If you are traveling in Japan (and definitely if you are living in Japan), you’ll want a pre-paid card, yes, even if you have a JR Rail Pass. I don’t leave my house without my PASMO card, one of the many IC cards you can have in Japan. IC stands for an “integrated circuit” so it has touch sense capability. They can be used for train and bus fares, coin lockers, some vending machines, and even at the convenience store! So first things first when you are traveling by train in Japan: get yourself a pre-paid card!
- Benefits of using an IC Card in Japan
- History of IC Cards in Japan
- Do I need an IC Card if I have the JR Rail Pass?
- Instructions for how to purchase a Pasmo or IC card
- Charging your PASMO
- Best way to carry your IC Card
- How to use your PASMO or IC Card
- Which is better for Tokyo? Suica or Pasmo?
- Commuter option for IC Card in Japan
[Editor’s Note: This post was originally published in June of 2018 and has been updated for freshness, accuracy and comprehensiveness.]
Benefits of using an IC Card in Japan
Biggest plus? You aren’t constantly trying to identify how much your ride is going to cost. You just ping in through the gate and you are on your way. This is most helpful when you aren’t familiar with the system yet and you’re digging through the posted routes trying to find your destination (a lot of times, in kanji).
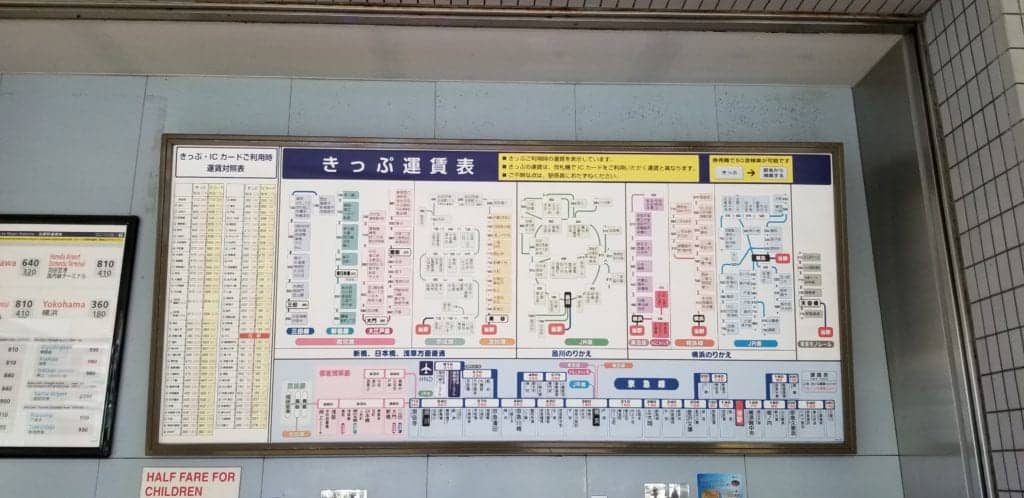
Another benefit is not having to deal with the confusion of having multiple paper tickets when you switch train companies. One of my earlier trips to Japan that equated to a very stressful transfer getting to Unzen Onsen in Kyushu. I wish the Sugoman Pass was in existence at the time, Kyushu’s version, but it didn’t arrive on the scene until 2010.
Disclosure: Kristenabroad.com is a participant in the Amazon Services LLC Associates Program and other affiliate programs. For some links to products or services in this article, I may earn a small commission by you using my link. The price for you is not affected.
History of IC Cards in Japan
If you picked up on the fact that Japan’s rail system is a little disjunctive when you were looking into your Japan Rail Pass, you are correct! In 1987, the Japanese Rail System split apart. Back then, you had to hand punch train tickets and slowly a system of magnetic tickets was introduced.
It wasn’t until 2001 that JR East introduced the Suica Card and it would take a decade more to introduce the rest of the IC cards around Japan.
- Suica
- ICOCA
- PiTaPa
- TOICA
- PASMO
- nimoca
- Kitaca
- SUGOCA
- Hayakaken
- manaca
Originally, their usage area was very specific as were the lines and services that each could be used on. Slowly over time, Mutual Use agreements between the different cards allowed you to be able to switch with ease. While I still noticed some hiccups as you traverse between different areas or zones of the country, from JR East to West, for instance, it’s getting better with time. It’s less common to be an issue as most travel large distances by shinkansen which need their own tickets but If that happens to you, don’t worry, just go and talk to the conductors at the exit.
As of 2013, over 80 million people have one of the 10 Japanese IC cards and they are usable at more and more stations throughout Japan. Even on some ワンマン (one man) trains (you can learn more about those on the complete guide to trains in Japan).
To top it off, they keep expanding where they are usable, such as stores, vending machines, everywhere! Keep an eye out for the “IC Card” logo at registers (or sometimes it lists all of the different brands).
Do I need an IC Card if I have the JR Rail Pass?
Short answer, most likely. The rail pass only works on the JR run lines, most likely you’ll be riding the subway or other private lines on your trip. They are also good for some buses (especially if you are in a bigger city).
The card is a 500 yen deposit which you can get back if you’d like to when you leave, but they also make good souvenirs. Especially if you luck out and find one of the special edition cards!
Instructions for how to purchase a Pasmo or IC card
You have two options. If you want to get the fancier versions, you can go to the Travel Service Centers to purchase, however, they have a limit on use, normally around 28 days. One plus is you don’t have to pay a deposit and they are cute so they make a good souvenir.
However, I think the “normal” option is just as good of a souvenir – because there’s an option to put your name on it! For that, you will need an automated vending machine.
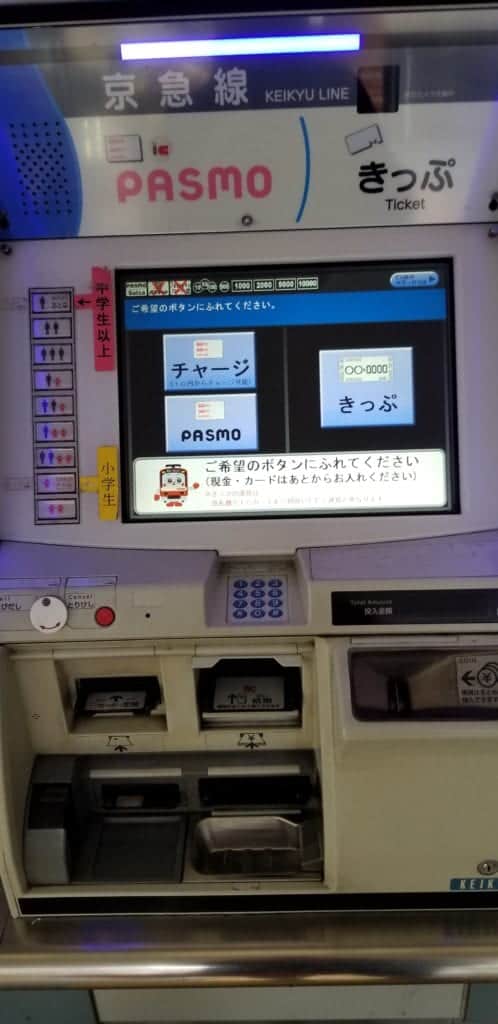
To purchase from one of the automated machines, you will want to look for a fare machine that has an “IC” symbol on it. There are some that are only for charging so be on the look out for that. Once at the fare machine, most have an option to switch the display to English with a button in the upper right hand corner of the screen or sometimes on a manual button to the left side.
Choose the option to purchase a PASMO (or whichever IC card zone you are in). Creating the card itself, you can choose to have your name added to it, which is helpful if it gets lost but also fun. It will cost you 500 yen for a card, which you can get back if you leave Japan without the intent to come back (though they make good souvenirs!). Keikyu’s website gives you more details.
Charging your PASMO
When you go through the automated gates, it will tell you the remaining balance on your card. However, if there is a lot of people, honestly it gets a little hard to tell if “was that the person in front of me or was that my card?”. If you are curious to your balance, you can check it at the fare machines.
Insert your card and it will show your balance. You can then select the amount of money you would like to add to it. One plus of adding your name is that it helps “register” your card if you were to lose it and that way you can report it and get a new one.
If you run out of money, the gates will close on you. Don’t worry about being embarrassed if this happens — it happens to the best of them! There are machines located near the exit gates just for this purpose. The Japanese name for “fare adjustment machine” is “精算機 (seisanki)” but they are normally also marked in yellow. They have the option to add denominations like the normal machines or if you are looking to turn your card back in for the 500 yen deposit, you can make an exact adjustment.
Best way to carry your IC Card
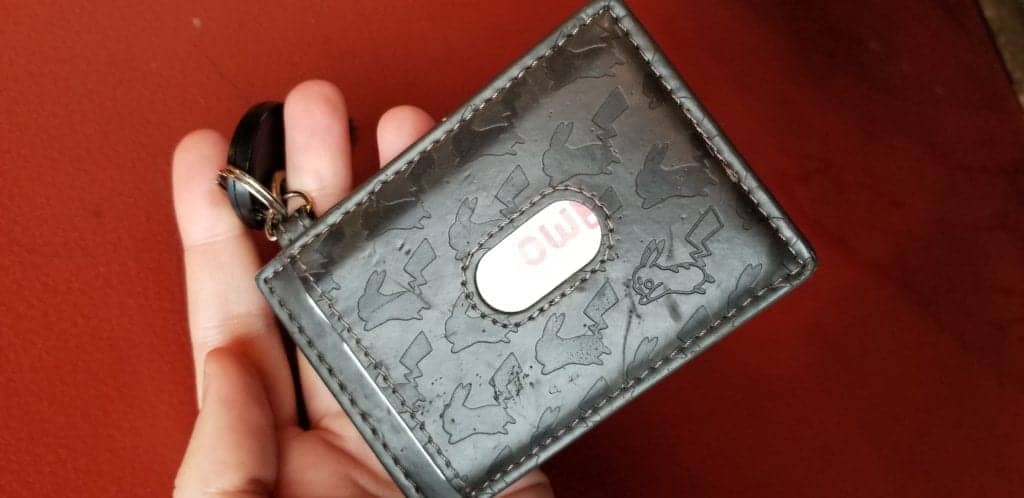
Personally, I love using a cardholder, I change mine every once and a while. It also serves as my keychain. I’ve been running with this leather Pikachu beauty for a while now (this Pikachu IC Cardholder is also super cute).
You can also get an attachment for your cell phone case, making it fewer things to carry. If you want to go full technology, you can get an app for your phone and just tap your phone at the gate (!!), but I’m always worried in that off chance that my phone dies, what do I do?
How to use your PASMO or IC Card
Once you have money charged on your card, you will walk up to the automatic gate and scan it where it says “IC CARD” and usually has a blue light to it. You’ll sometimes see it say タッチ (tacchi, touch) or in the case below しっかりタッチ (which means “firmly touch”) but you don’t actually have to touch it directly to the sensor.
If you don’t get close enough and it misses reading your card? The gates will close on you, or you’ll have to explain to the conductor at your destination where you got on (because the gates will close on you there).
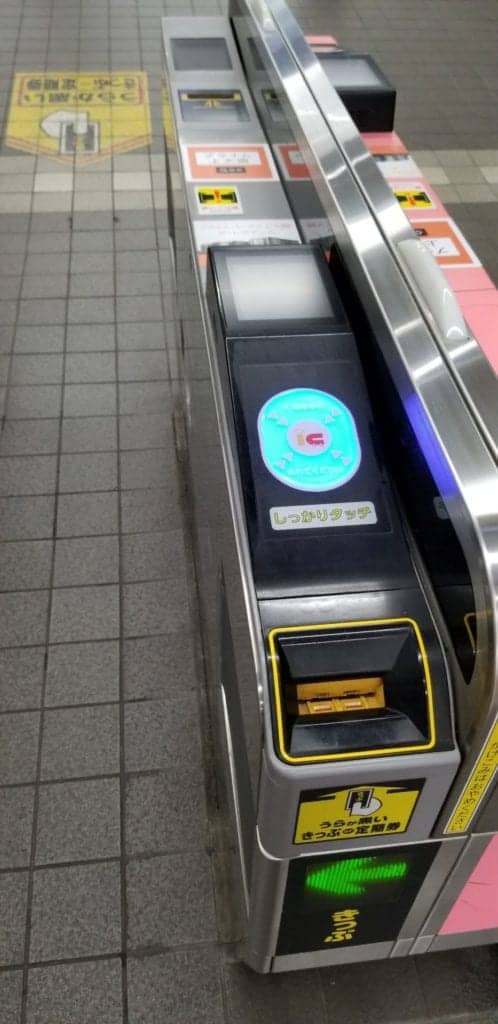
If you have a paper ticket, you place it in the yellow slot and don’t forget to pick it up on the other side, much simpler with an IC Card!
Which is better for Tokyo? Suica or Pasmo?
The type of station will dictate if you get a Suica or Pasmo when arriving into one of the Tokyo airports (other points of entry on your trip to Japan will have one of the other brands of IC cards ).
Personally, I like the Suica card better with their cute little penguin design. However, if you end up going on the Keikyu Line first, you’ll end up purchasing a PASMO.
If you need a commuter card, you’ll have to go with the version your line uses. (I know people with both because of how they commute to work!)
Commuter option for IC Card in Japan
If you are going to be making the same route over and over, you can save a substantial amount of money with the commuter option! 定期乗車券(ていきじょうしゃけん, commuter pass) can be purchased at the fare machines as well.
You have the option for one month, three months or 6 months passes. I like to go with the 6 months option as it saves me the most amount of money. You can go on the train line websites and do the math to see if it’s the right option for you.
Note that if the route you use on your commute is also the route you use to get elsewhere, it is like that section of track is free for you!
To purchase a commuter pass you will navigate to that section of the fare machine and pick which station you are coming and going to. It will print you out the information on your card as well as the expiration date. When you go to renew it, the machine will erase that text and put the new information.
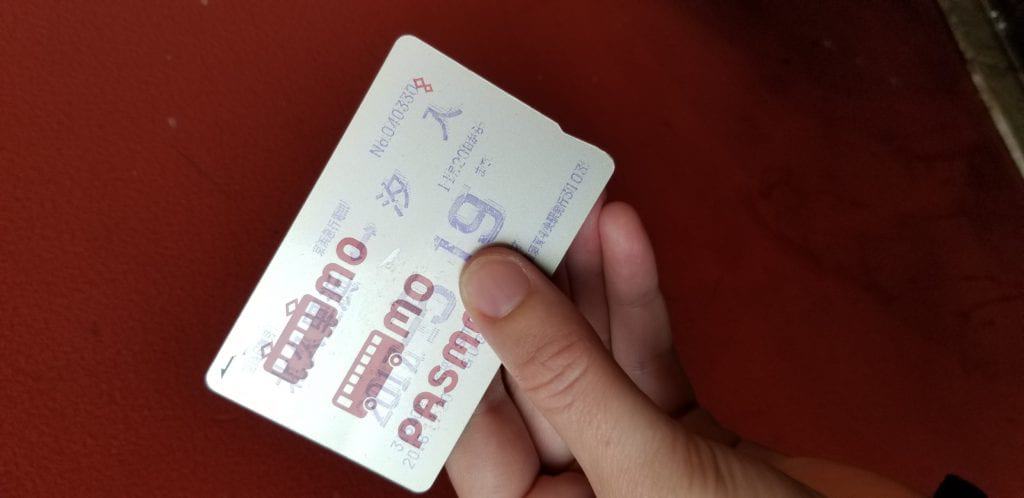
Are you a Pasmo or a Suica person? Let me know in the comments below!
